To save paper & ink, use the [Hide] controls next to photos and comments
so you only print what you need.
Great Chimney
5.6,
Trad, 200 ft (61 m), 3 pitches,


 Avg: 2.7 from 40
votes
FA: Fritz Wiessner, Jim Goodwin 7/1949
New York
> Adirondacks
> C: Keene Region
> Pitchoff Chimney Cliff
Description
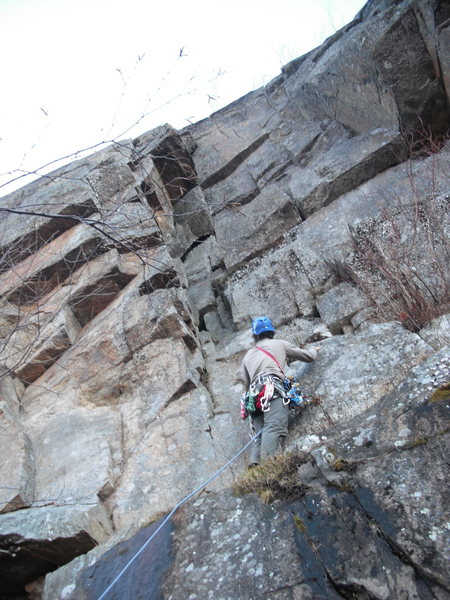
P1: The start is a scramble up some blocks to a right facing corner. Up this to the opening of the chimney. Surmount the chockstone (crux) and into the mountain you go. Fixed anchor for belay. 5.6
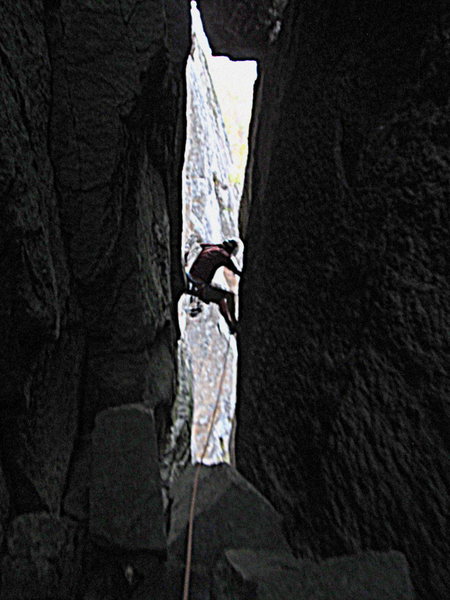
P2: Scramble into the chimney to a thin crack on the road-side wall and begin to stem up the chimney. Eventually, step left to fixed anchor. 5.5
P3: Traverse across and downclimb to the summit boulders near the top of "Pete's Farewell". 5.2
Location
Start same as "Pete's Farewell".
Protection
Some nuts and cams

[Hide Photo] Bouldery start to the first pitch of "The Chimney", 11/13/2010.

[Hide Photo] Climbing up the neck of the chimney to the "window" for a nice view of Cascade Lakes

[Hide Photo] Adam and Dylan at the first belay station on "Great Chimney", 11/13/2010.

[Hide Photo] View from the 2nd pitch.


 Avg: 2.7 from 40
votes


Los Angeles, CA
Once you get to the square notch after stemming, the fixed anchor the guide mentions is up on the main (inner) face ~8' above the notch, behind you and to the left as you're facing the road (or up and to the right if you're facing the mountain).
Actually a fun exploration of a super cool feature. Sep 6, 2016
Toronto, ON
For P2, we did not stem at all, we just climbed up the thin crack on the road-side wall. Climbing the thin crack felt more difficult than 5.5. I didn't even try to stem and I'm tall...those walls must be getting farther apart cause stem-ing did not seem like the way to go. Sep 15, 2016
Apple Valley, CA