
 Continue with onX Maps
 Sign in with Facebook


Homemade hangboard
|
|
Anybody here know how to make a wooden hangboard? Need some tips |

|
I made this hangboard a couple years ago with fairly simple tools http://sicgrips.blogspot.com/2017/01/gbar-do-it-yourself-hang-bar-part-3.html |
|
|
I haven't made a hangboard, but I am an expert furniture maker. What tools do you have available and what skills do you have? Without any tools you should probably just buy a basic hangboard unless you're looking to invest in tools. You could probably make something useable by glueing and screwing some trim pieces from HD. To make a Beastmaker you would need a plunge router and the ability to make templates, or a drill press, chisels, and a little technique. |
|
|
Here's mine: 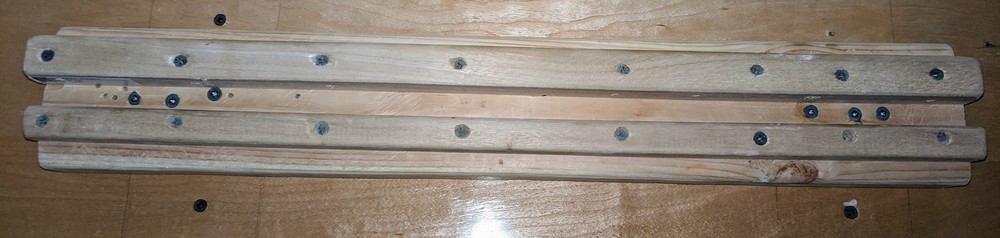 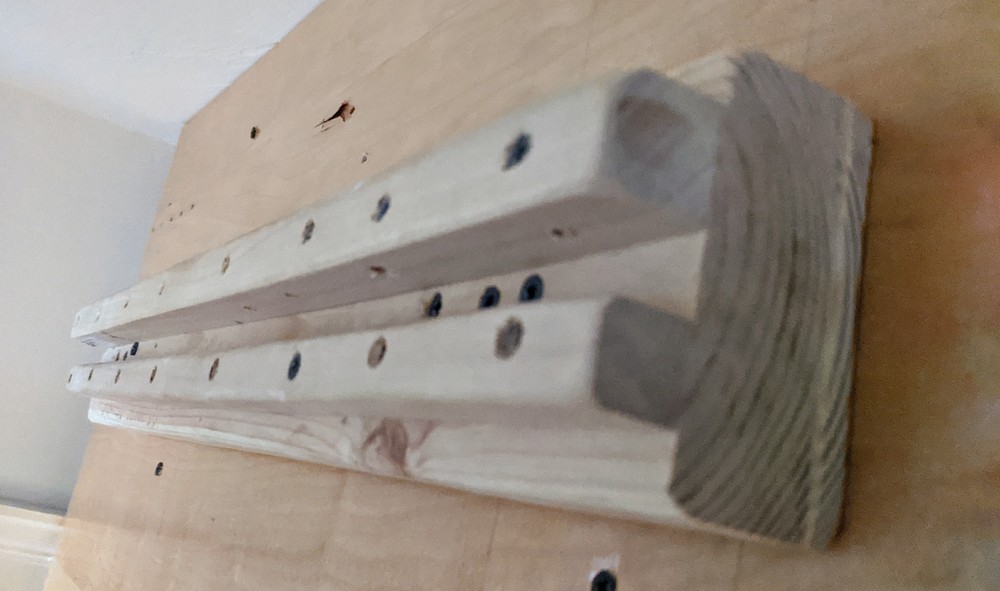 Square dowels screwed to a 2x4, with the edges sanded down for comfort. The board is mounted with three long screws on each side (you can see these between the rungs). Those mounting screws go into the support structure of the backboard. I don't know enough about carpentry/engineering to say whether this method of construction is sound. The rungs seem plenty strong. Some stuff I found online suggests that properly glued joints of this type are stronger than a screwed joint. Apparently the glue, when properly bonded, is stronger than the wood itself. Perhaps I could have just glued the rungs on, or I could have used glue and screws together. To reduce the edge size, you can use rungs with less depth, or add material against the base 2x4. |

|
 Here's mine. 3 pieces of 1x8 poplar glued up. Top edge is about full thickness minus some sanding with a 1/2" roundover on the front and back. Second edge is 20mm with 6" alternating sections of 1/8" and 3/8" roundover. Bottom rung is 10mm with 1/8" roundover alternated with about a 3-4mm hold with a hand sanded edge (so idk the roundover). Tools used: Lots of clamps, table saw, router (1/8, 3/8, 1/2 roundovers and 1/2" plunge bit), dremel for the small edges with sanding attachments and lots of sandpaper. Definitely more of a project for fun than it was to get something cheap for training. So it depends if you just want to make a cheap one or if you want to have a wood project that ends with a board. Edit to add: I finished with 150-grit paper and I've been happy so far |
|
|
Cool thread. |
|
|
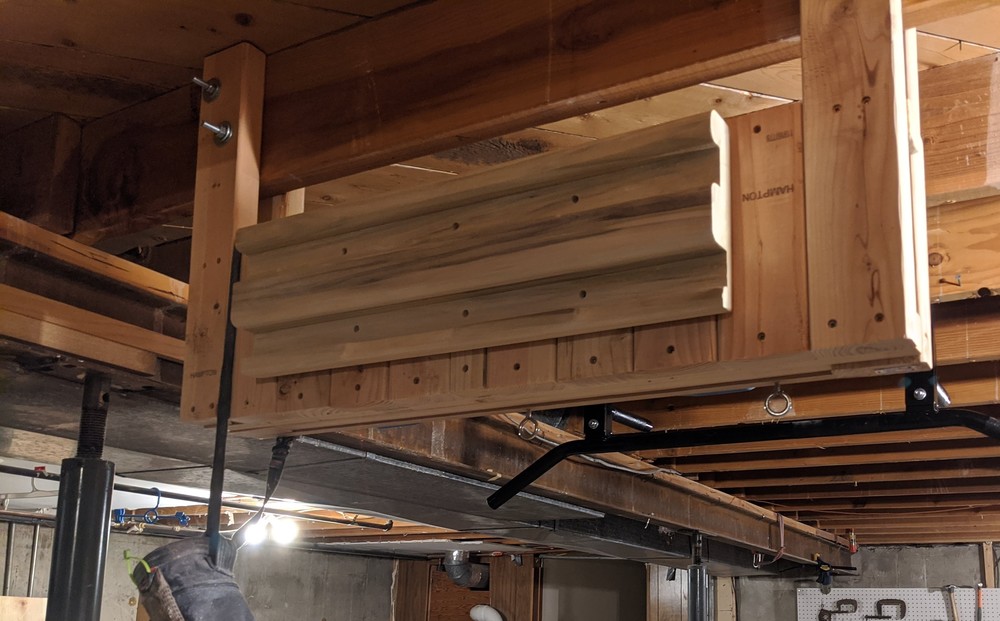
 I recently made this hangboard mostly for fun to learn about woodworking (sorry for the bad photo, if I remember I will post a closer and better one when I get home). I also made the stand it is attached to. It's a shameless rip off of the tension hangboard (don't sue me, I'm not selling them). I used the following tools:
Here are some things I learned:
 |
|
|
Robert - Did you use a router on the pockets or just sand them down on the edges? If so how is the edge on the skin with higher weight? |
|
|
Ive been using a CNC router to create several different iterations. |
|
|
Stephen Rehrman wrote: Anybody here know how to make a wooden hangboard? Need some tips I’m thinking I’m going to make it this weekend and it is going to have a crack in the middle so you can train for cracks and then different size holds like a campus board. |
|
|
Mike wrote: Robert - Did you use a router on the pockets or just sand them down on the edges? If so how is the edge on the skin with higher weight? I originally used a router to round the edges but it wasn't quite as much as I would have liked. After sanding them down quite a bit they are decently comfortable with added weight. A little more painful than a board like the beastmaker but not enough to ever make me think twice about doing it. You could definitely round on the order of like 5mm instead of the 2ish that I did and that would make them feel even better. Not sure what the consensus is on how to measure the depth of the edge at that point, but it doesn't really matter as long as it is internally consistent with the other pockets on the board. |
|
|
Robert Kolmos wrote: Every place I've seen with diagrams uses the depth of the hold before the edge is taken off as the hold size. The only one that I cared about was hitting 20mm with a 10mm roundover as I believe that's the stay size for the lattice rung if you use the crimped app.Also, as a thought for anyone making a board, especially if it's mainly for one user, I think symmetric boards are mostly to look nice (unless your board hangs on cord). I offset my holds so they are all the same distance from each other at a comfortable distance for my shoulders. I think one of the actual manufacturers does this but it's uncommon. |
|
|
good examples in some of these posts..... |
|
|
Block of maple from specialty hardwood store. Dremel with a router bit/ base. The small crimps were too heinous so i put grip tape on them.I call it the SWOL BOARD v1. 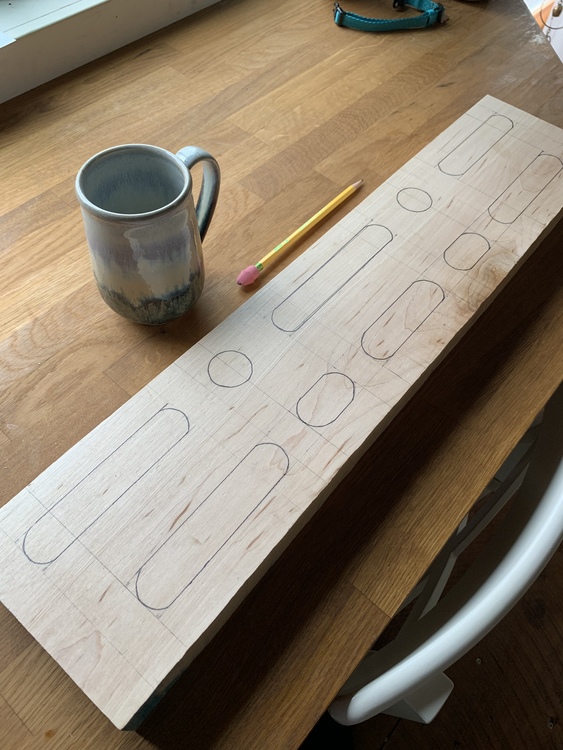 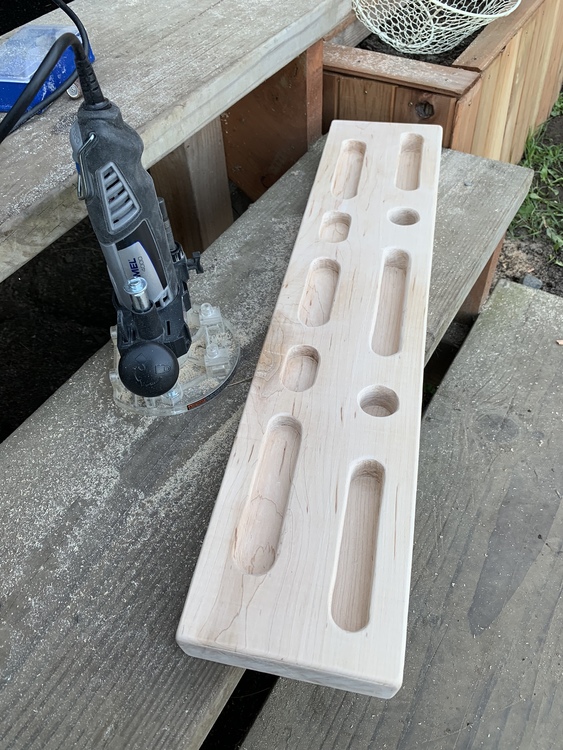 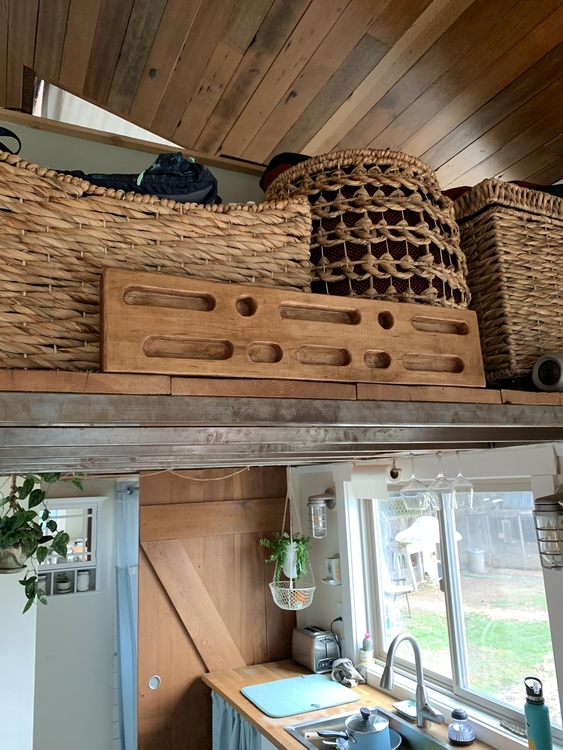 |
|
|
Mike wrote: Yeah this is a great point, a big part of the reason I copied the tension hangboard was the offset holds, I can definitely notice the difference in the way my shoulders feel when hanging as opposed to the way they feel on a beastmaker. |
|
|
Max R wrote: Block of maple from specialty hardwood store. Dremel with a router bit/ base. The small crimps were too heinous so i put grip tape on them.I call it the SWOL BOARD v1. Hey, I wanted to attempt doing this too. What type/size dremel did u use for the holes? |
|
|
Gary Quivers wrote: Well.. in the second photo you can see what dremel it is, with the router base attatchment. I ordered a routing bit set from amazon and used the plunge ones, shaving down in levels. A full sized route would be better. |
|
|
I did something like this and used it for a while: https://www.powercompanyclimbing.com/blog/2012/08/bare-naked-hangboarding.html |
|
|
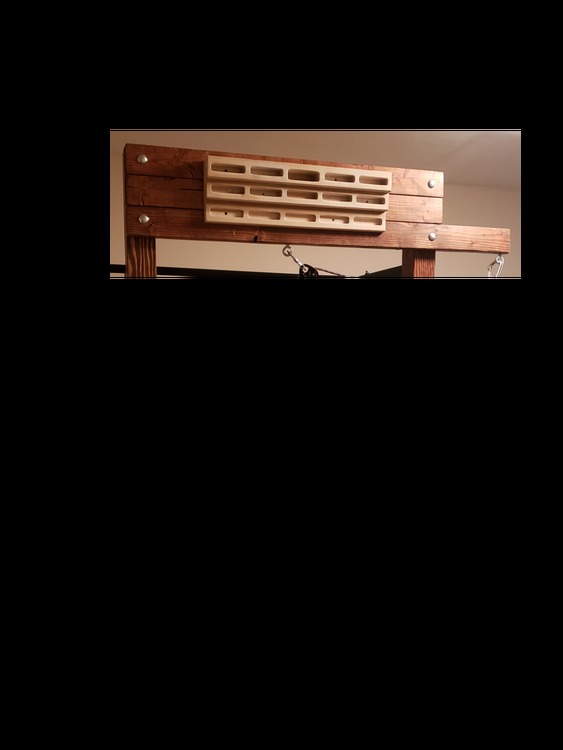
I just finished my hangboard today, it was a fun project. Cost was >$50.00. I went with Poplar, which was a little more pricey than Pine but it was much nicer to work with IMHO. The skateboard deck tape is being delivered tomorrow, which I will add to the rungs and then it will be finished. 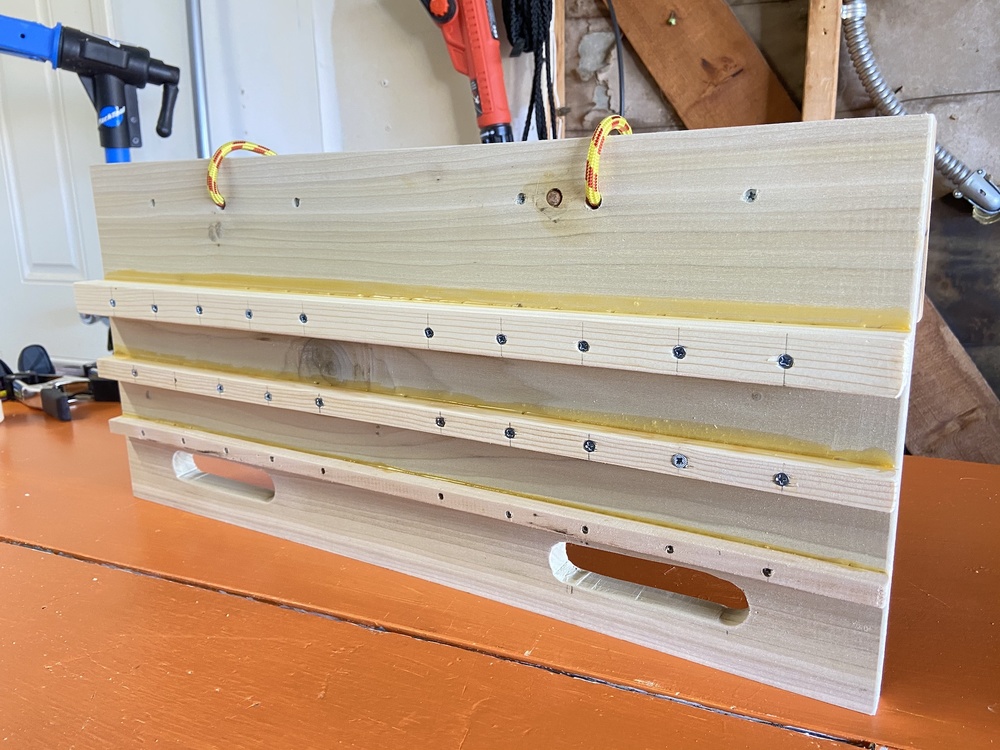 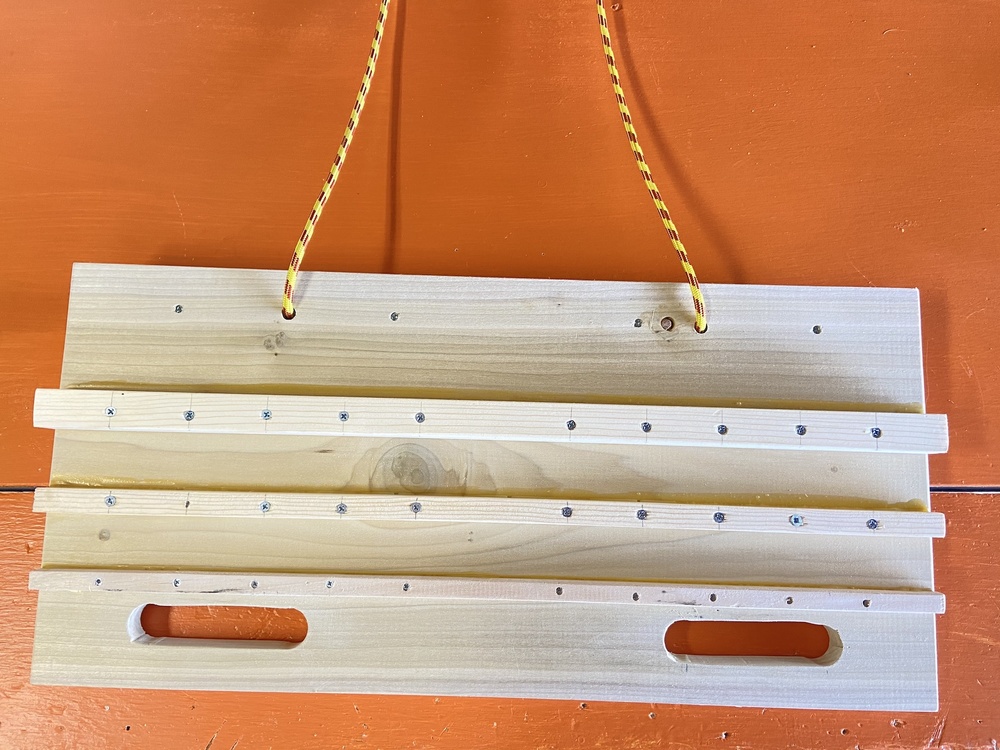 Prior to paint ---------------------------  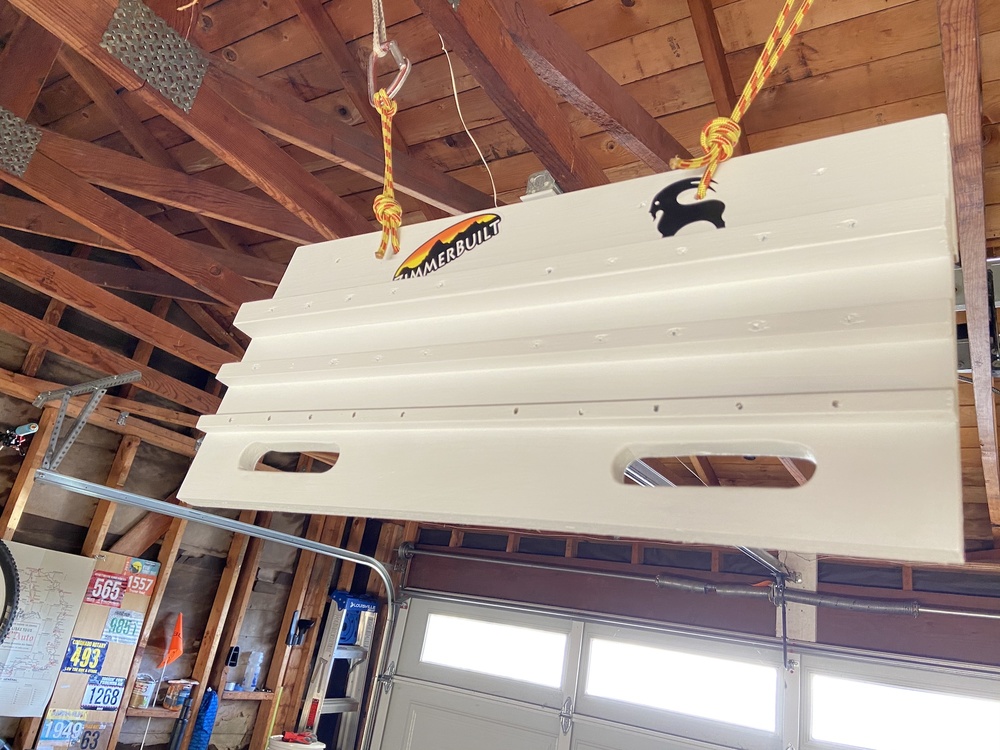 |


