Continue with onX Maps
 Sign in with Facebook


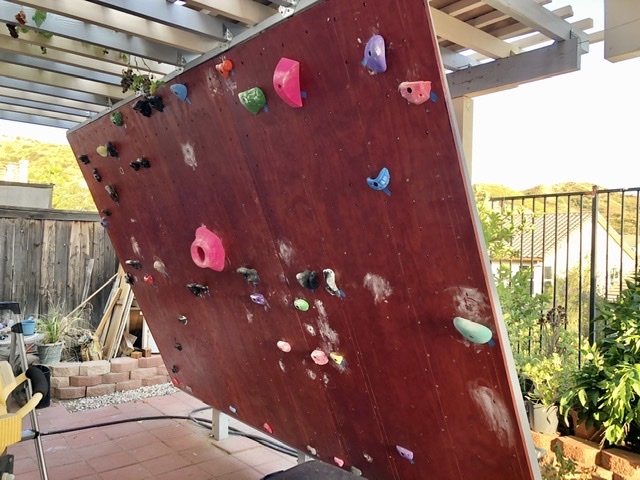
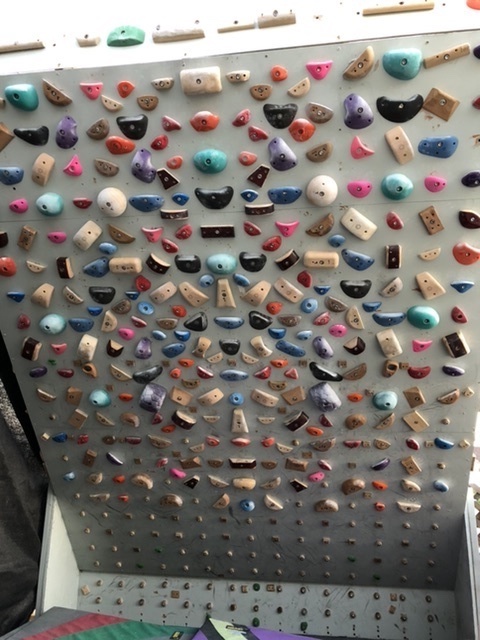
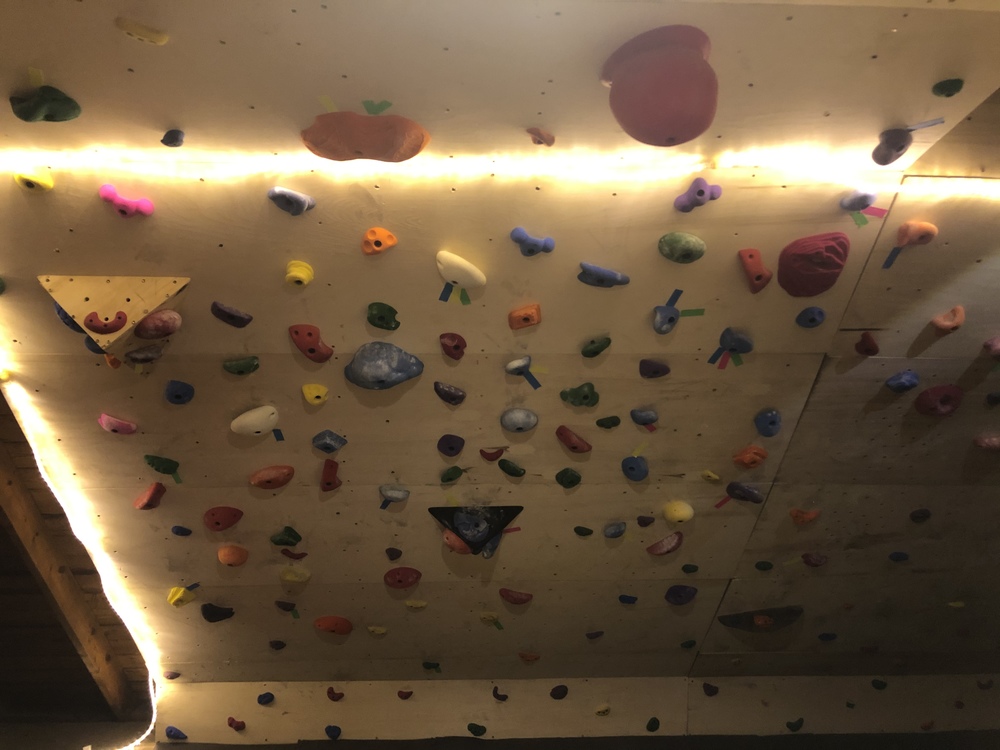
What does your Woody look like??? 2.0


|
bouldering pads |
|
|
Cheapest and best home solution I've seen is bouldering pads with mattresses underneath them. Depending on the size of your wall you may need a lot of bouldering pads though, when I broke down cost per sq ft a mix of my own pads and storing friends pads was the best option for me. Madrock triples connect together really well and make for a good options for small walls. |
|
|
https://www.thefoamfactory.com/blog/index.php/climb-higher-with-confidence-using-bouldering-crash-pads
Comments are good as well in that article. Foam is just flat out expensive but I used the 6" lux and the 1.5" 2.2lb closed cell polyethylene mentioned in that article for our home wall and really like it. Still pricey but way cheaper than the Asana drag pads. |
|
|
For those who used the 4 prongs T nuts, what brand/specific glue would you recommend? |
|
|
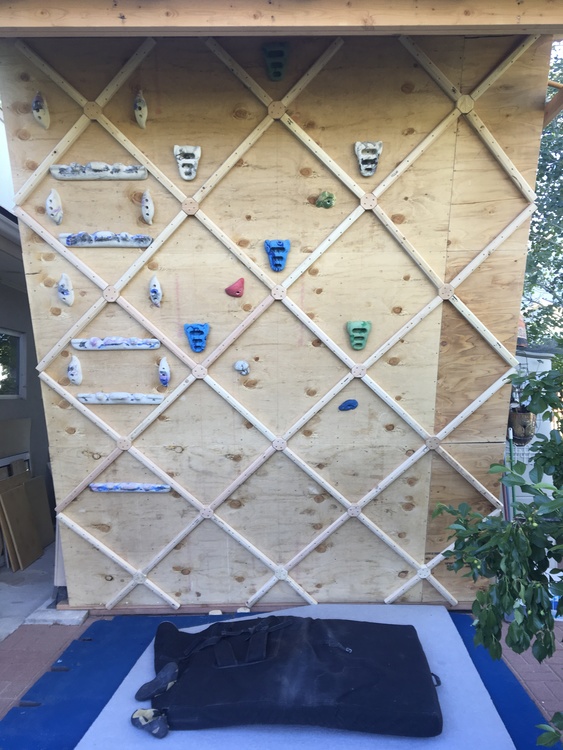
How is that lattice setup? Is it practical for regular use? |
|
|
Julian H wrote: Needs more holds Did you drill out the hole on the rock rings to make it fit the bolts?hows it working? I have a couple rock rings that I’m not using and could mount this on my wall. |
|
|
 |
|
|
Julian H wrote: Yes I drilled two more holds in the pockets. There is already one in the big pocket. The outside edges on the hit strips are not that ergonomic and the cut into my tendons. I’ll grind then down and make then more difficult too. They might work better on the steeper wall. So did you use a t-nut bolt or just treat them like a big screw-on? |
|
|
A bit more rigging, need to put a coat of polyurethane on the ply, and waiting on mats, but it's getting close! Adjustable from 30-45 degrees. 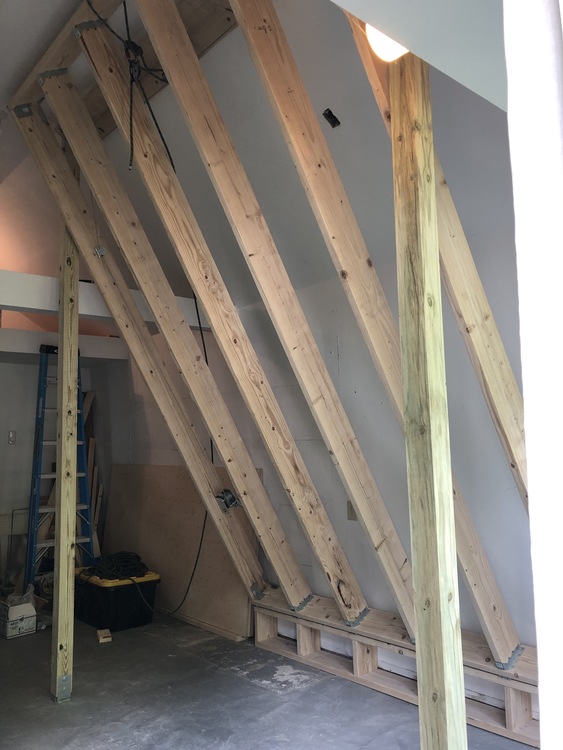 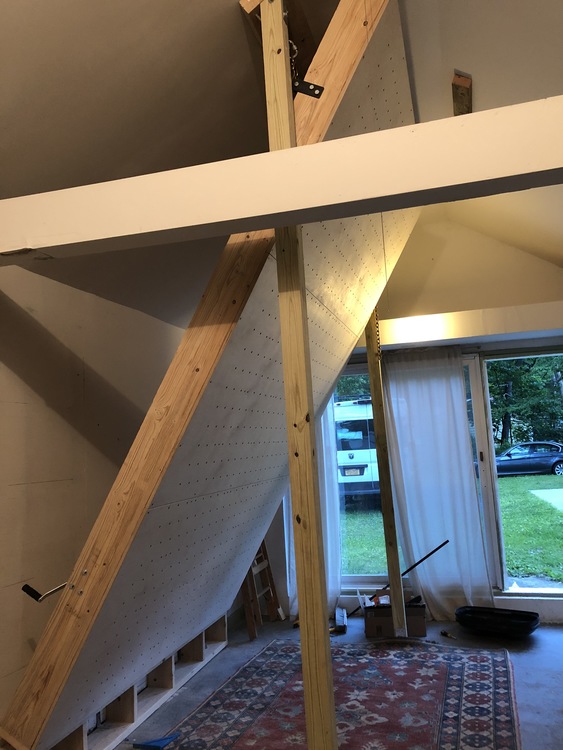 |
|
|
 |
|
|
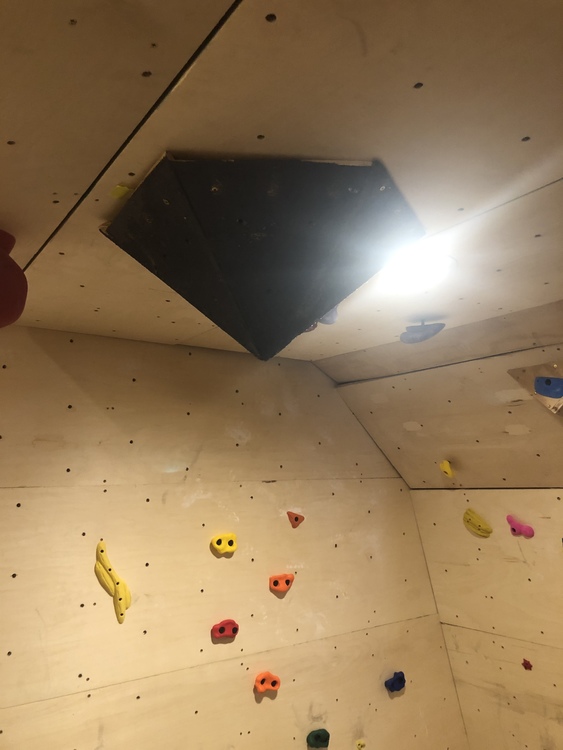
Got it up this past weekend. 8’ x 12’ climbing wall, 75*. Bought 20lbs random Element holds to start with. Super fun!! Still need to find some crash pads... 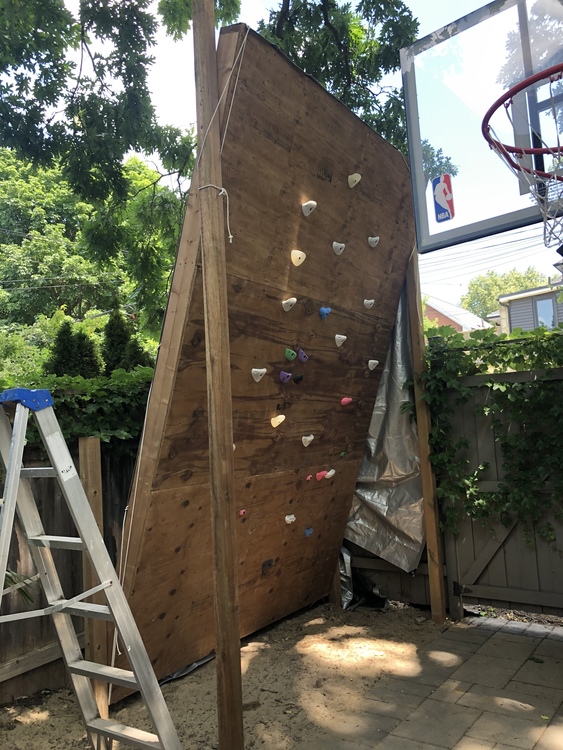 |
|
|
 |
|
|
 |
|
|
 12' wide by 11' tall @ 40 degrees. The hardest part about this build was removing a 50 year old pipe that ran across the ceiling. |
|
|
Nice! |
|
|
 |
|
|
Tal Wanish wrote: I love having them. It's been an awesome addition and allows me to create unique moves with the cracks and also train for when I go out west. I live in PA and there isn't much crack. However I did make the smaller crack my anti-size and I can barely pull my ass off the ground. If you want I can post pictures of how I framed them out. They both don't budge. One more thing to note, they never get in the way of setting so they aren't an inconvenience. |
|
|
Dustin K wrote: I would definitely be psyched to see how you did it also |
|
|
Tal Wanish wrote: Question for you guys, starting to look at planning out the home wall. Planning for a 10" kicker and then a 8'x10-11' climbing area (still haven't made the call, will either be 8'x~9'9" or 8'x~10'11", shown is 10'2"). Will have a ~0.75" finger crack at one third width and a 1.75" hand crack at two thirds width. Would this be enough for framing or do I need to run additional vertical supports down each third? Without those vertical supports it's ~30.25" OC, with them it would be half that obviously. 2x6s for framing all around (except the 4x4s visible). You should build at 16" OC, and consider running either a few full width 2x4's or ply for bracing as shown in the last post. As shown, the wall will probably sag in the middle eventually. |
|
|
Tal Wanish wrote: Question for you guys, starting to look at planning out the home wall. Planning for a 10" kicker and then a 8'x10-11' climbing area (still haven't made the call, will either be 8'x~9'9" or 8'x~10'11", shown is 10'2"). Will have a ~0.75" finger crack at one third width and a 1.75" hand crack at two thirds width. Would this be enough for framing or do I need to run additional vertical supports down each third? Without those vertical supports it's ~30.25" OC, with them it would be half that obviously. 2x6s for framing all around (except the 4x4s visible). Probably not. You’ve essentially got 4x6’s for the crack sections if you support them with spacers. If not then you will need to have something stitching them together on the back as noted by the previous post. Also for your 1.75 hand crack you might consider making those out of 2x8 or 2x10’s. Unless you have really big hands you will likely want more surface area to replicate the feeling of jamming a hand crack. 2x6’s dimensions are actually 1.5x5.5 inches and your fingers and hands will likely stick out the back of the crack. |