Continue with onX Maps
 Continue with Facebook


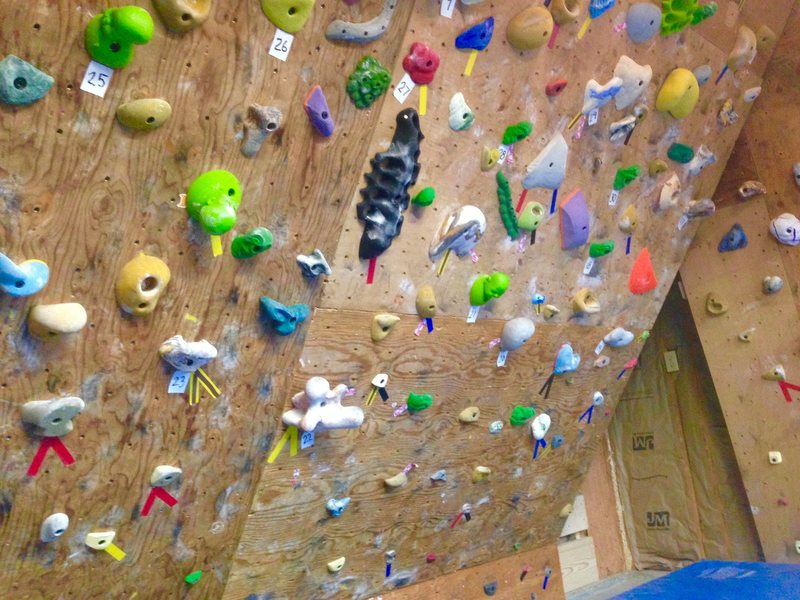
What does your Woody look like???


|
|
|


|
JonMiller wrote:Nice, regarding the painting. how did you solve the issue of the paint ripping when you remove the holds?. If you did. can you detail the painting process?. Tks. |
|
|
Sanllan wrote: Nice, regarding the painting. how did you solve the issue of the paint ripping when you remove the holds?. If you did. can you detail the painting process?. Tks.Thanks, I haven't removed too many holds at this point. The few that I have removed did have a little paint peel but not that noticeable. I applied two coats of Kilz 2 primer prior to painting. It seems to hold up. Honestly, I don't mind the character development of the woody in any form, scuffs and paint peel included. |
|
|
The wife and I bought a house this fall and despite her insistence that I get other house projects done first, I made the building of a home woody a top priority. Of course, I argued that I couldn't properly get other projects done, like building storage shelves and organizing things, until the wall was done. |
|
|
Michael Schneiter wrote:The wife and I bought a house this fall and despite her insistence that I get other house projects done first...That was going to be my introduction when(if) I finish and post my woody. how did you get into my head? are you spying on us?. Now to the serious matter. I notice that you have some bolts in your 15 deg. wall. can i know the reason? And for the 35 deg. what size is your kicker? tks |
|
|
Sanllan wrote: That was going to be my introduction when(if) I finish and post my woody. how did you get into my head? are you spying on us?.Ha ha. I'm sure this is a common deal for a lot of us. Now my wife loves that I finished the woody before other projects, which are endless it seems, because our kids and the neighborhood kids climb on the wall a ton and give her some peace and quiet in the house. Sanllan wrote: Now to the serious matter. I notice that you have some bolts in your 15 deg. wall. can i know the reason?I put in some old hangers so I could string up a cord and hang gear to dry after ice climbing. And, I play around and practice knots, anchors, and systems. Plus, my five year old asked me to teach her how to lead climb so I put up a bunch really close together so she could "lead" climb. Of course, they are not super bomber but for a kid weighing about 40 pounds they are fine.  Sanllan wrote:And for the 35 deg. what size is your kicker? tksI think my kicker panel measured 12" when I cut it and is closer to 10 or 11" of exposed panel after I put the panels up. |
|
|
Great projects here! Didn't see this one before making a thread for my wall: mountainproject.com/v/the-c… |
|
|
Michael Schneiter wrote: I put in some old hangers so I could string up a cord and hang gear to dry after ice climbing.Nice idea. So the hangers are attached to the t-nuts?. i bought a pair of hanging balls ( threeballclimbing.com/3-inc…) to put in my future woody. It will have a roof and was thinking to put hangers attached just to the t-nuts. you say its not bomber (i thought it was). Just for hanging and doing pull-ups (not falling) you think it will hold up? (3/4 plywood) tks |
|
|
Sanllan wrote: Nice idea. So the hangers are attached to the t-nuts?. i bought a pair of hanging balls ( threeballclimbing.com/3-inc…) to put in my future woody. It will have a roof and was thinking to put hangers attached just to the t-nuts. you say its not bomber (i thought it was). Just for hanging and doing pull-ups (not falling) you think it will hold up? (3/4 plywood) tksYes, my hangers are just attached to the T nuts. I'm not worried about the little mini whippers my daughter is taking on them. For just hanging then I think you're fine although I've seen T nuts pull through 3/4 plywood after repeated use and abuse. If you have any doubt, you could add some additional backing or something else to help dissipate the load. I'd also like to get some of those beast balls. They look like fun training tools. I would think 3 ball has instructions about how best to hang them. |
|
|
Michael Schneiter wrote: think 3 ball has instructions about how best to hang them.i´ll check out, I bought synrock 3.5" (the texture is great), and other ones made of wood 3". |
|
|
It's almost complete. I just have the right side of the 45 degree section to fill in. Almost 15 feet tall and 40 feet wide at the base. |
|
|
In a tall wall where you lead how do they make the hangers bomber?. |
|
|
Doug Lintz wrote:It's almost complete. I just have the right side of the 45 degree section to fill in.Amazing. This looks like what i refer as a normal gym wall. which diameter are those orange balls? |
|
|
en.wikipedia.org/wiki/Block…
Put a couple pieces of 2x4 or 2x6 between the studs. I put 2 on edge as close as possible on either side of the t-nut/bolt/hanger and sunk a bunch of screws through the ply into the blocking. If you're concerned with the ply blowing out you can stack 2 2x6 flat between the studs and then run bolt through the 2x6 and put a big washer & nut on the back. - Doug - Great wall! I recognize some of those old Pusher holds (the green butt hah). I like your transition from the 15 degree to right section. How big is your space overall? - Michael - My kid just turned 2, can't wait to get him climbing more. That's awesome your daughter is interested in climbing and asked you to teach her how to lead. How big is your crash pad & where did you get it? I'm looking for a large pad like yours.  I've finally finished my winter hold tear down & cleaning. I think I may have to invest in an old used dishwasher, scrubbing all those holds by hand took a long time. Time to set some routes. |
|
|
Sanllan, the orange balls are the large (4.5 inch) Atomik Bombs. |
|
|
BCarlson wrote: I've finally finished my winter hold tear down & cleaning. I think I may have to invest in an old used dishwasher, scrubbing all those holds by hand took a long time. Time to set some routes.Have you tried just putting them in vinegar and letting them soak? Seems to work really well for home walls and removes most of the rubber/grime. For many of my nice large holds it returns them to near-new qualities. sick outdoor wall btw!!! |
|
|
BCarlson wrote:How big is your crash pad & where did you get it? I'm looking for a large pad like yours.I got lucky and was able to snag that from our college climbing wall where I work as an adjunct. They upgraded and got all new pads from Asana, which are not cheap. The old ones were getting tossed out so I scored one that fit my space perfectly. I'm not sure where you would get it normally. I think they are more of a gymnast pad but cost a lot of money, like you would with the sweet pads from Asana and others. |
|
|
In commercial gyms the bolts are placed through the structural steel, turnbuckles, or built into the wood frame and backed up by steel cables. Any real fall onto a t-nut, would cause the t-nut to fail. |
|
|
Hi all, |
|
|
Sanllan wrote:Hi all, I want to give my wall some fine texture but still leave the wood color. Can i add sand or shark grip to the primer?. i´m thinking of applying a normal first prime coat and in the second coat, add fine sand (or shark grip) steering constantly. will it work? tks and happy new yearYou could get a really light colored stain and mix the sand with that. Go light and the sand and put in two coats? The negative of that is that where there isn't sand it will be really slippery for a while. |