Continue with onX Maps
 Continue with Facebook


What does your Woody look like???


|
|
EricV wrote: Anyone have any suggestions for clever homemade holds that are easy to do? Especially for a roof area.In the past i found two viable ways of making hold. The ones that you buy are better so look out for some used ones. The first way is to collect rocks with a relatively flat back and drill at a right angle to the flat part. Then use some thick rubber, such as several layers of bike inter-tube and put it on the back of the rock while you are bolting it on the wall. The rubber acts as a spacer between the rock and the wall that allows it to lie flat and be tightened without cracking. Be careful with approach, sometimes the rocks crack if you select rocks that are to thin. The second way to make cheap hold is to make them your self with bondo. Bondo is a fiberglass filer resin used to fix dents in cars; you can get a gallon for about $20. We used the bondo paste not the liquid stuff. So you take your bondo paste and mix it with coarse sand or very very fine gravel to give it a good texture. Then you pour the mixture into 'molds' of things that you want to be holds. We found that things like plastic jars and other things out of the recycling bin were quick and easy. You can make a hold more positive by adding spacers to the mold( we used cardboard and play-do). Let is dry for a few days and take it out of the mold. Flatten the back out very carefully since this is the side you will be placing against the wall. Drill with a wood or concert bit and your hold is ready. A major issue we faced while making hold out of bondo is that we did not have a belt sander to smooth out the backside. Instead of using a sander, we drove on a smooth road, leaned out the door and pressed the backside of the hold on the roadway. The roadway quickly grind it down flat. hope this helps. |
|
|
Thanks Adam! |
|
|
matt c. wrote: A major issue we faced while making hold out of bondo is that we did not have a belt sander to smooth out the backside. Instead of using a sander, we drove on a smooth road, leaned out the door and pressed the backside of the hold on the roadway. The roadway quickly grind it down flat. hope this helps.That is cool! |

|
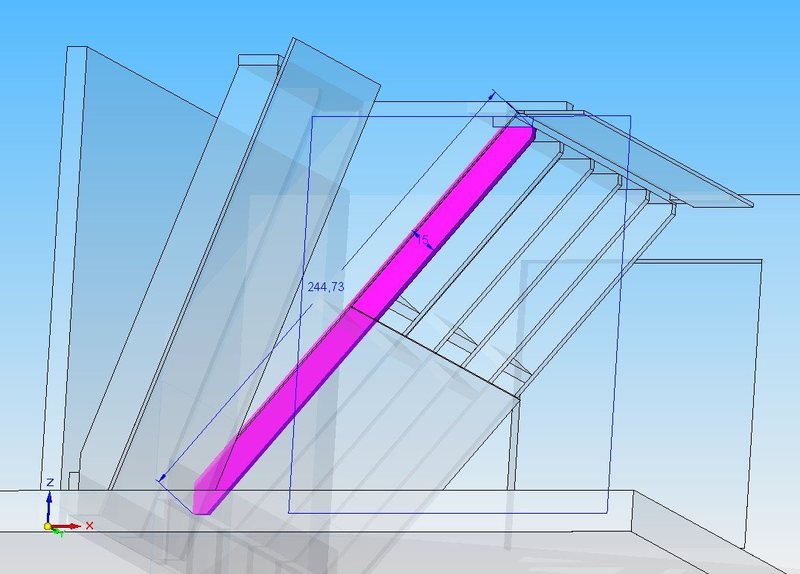
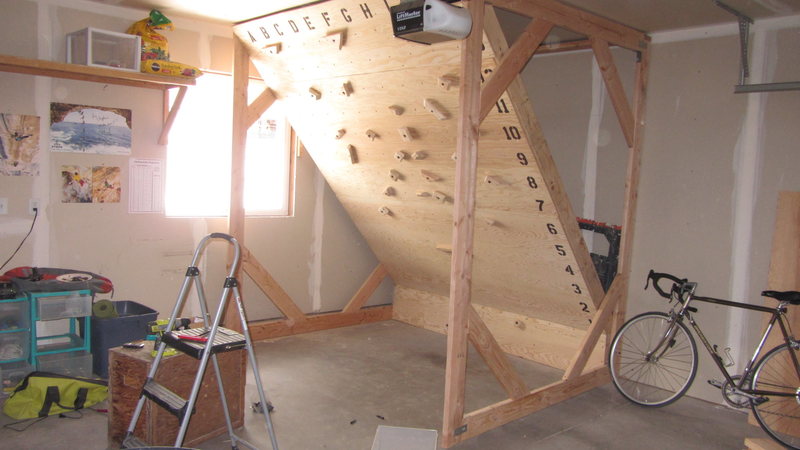
EricV wrote: Just put this up in the single stall garage 6' wide and 8' tall at about 40 degrees with a roof after! Next step is a vertical wall on the right. (Need more t-nuts) It's been a fun project for sure! Now it's time to get creative with volumes and holds! Anyone have any suggestions for clever homemade holds that are easy to do? Especially for a roof area. Edit: Sorry, not sure how to rotate the picture from mobile...guess it's an excuse to stretch the neck out!I like the triangular shaped feature,,,,i've made dozens of those from scrap wood for my home wall, the largest about 4.5 ft long....they are easy to do and make for great use. |
|
|
Greetings to all! |
|
|
Just finished with my first garage wall. Built to the specs of the Moonboard, but its shorter, due to height restrictions. Just waiting for the extra money so I can buy the moonholds. In the meantime I made some wooden holds out of the leftover scraps. Also built a hangboard/pulley system. Will put some slopers and crimps on the blank side for training. Overall this was a fun, rewarding project. I am in no way a handyman, so I learned alot from mistakes. Always measure twice, cut once...learned that lesson the hard way haha. |
|
|
hey stephen. cool design! is that free standing or do you hate it attached to the ceiling or wall? |
|
|
My woody keeps getting bigger... but slowly. I keep climbing on it instead of building on it.  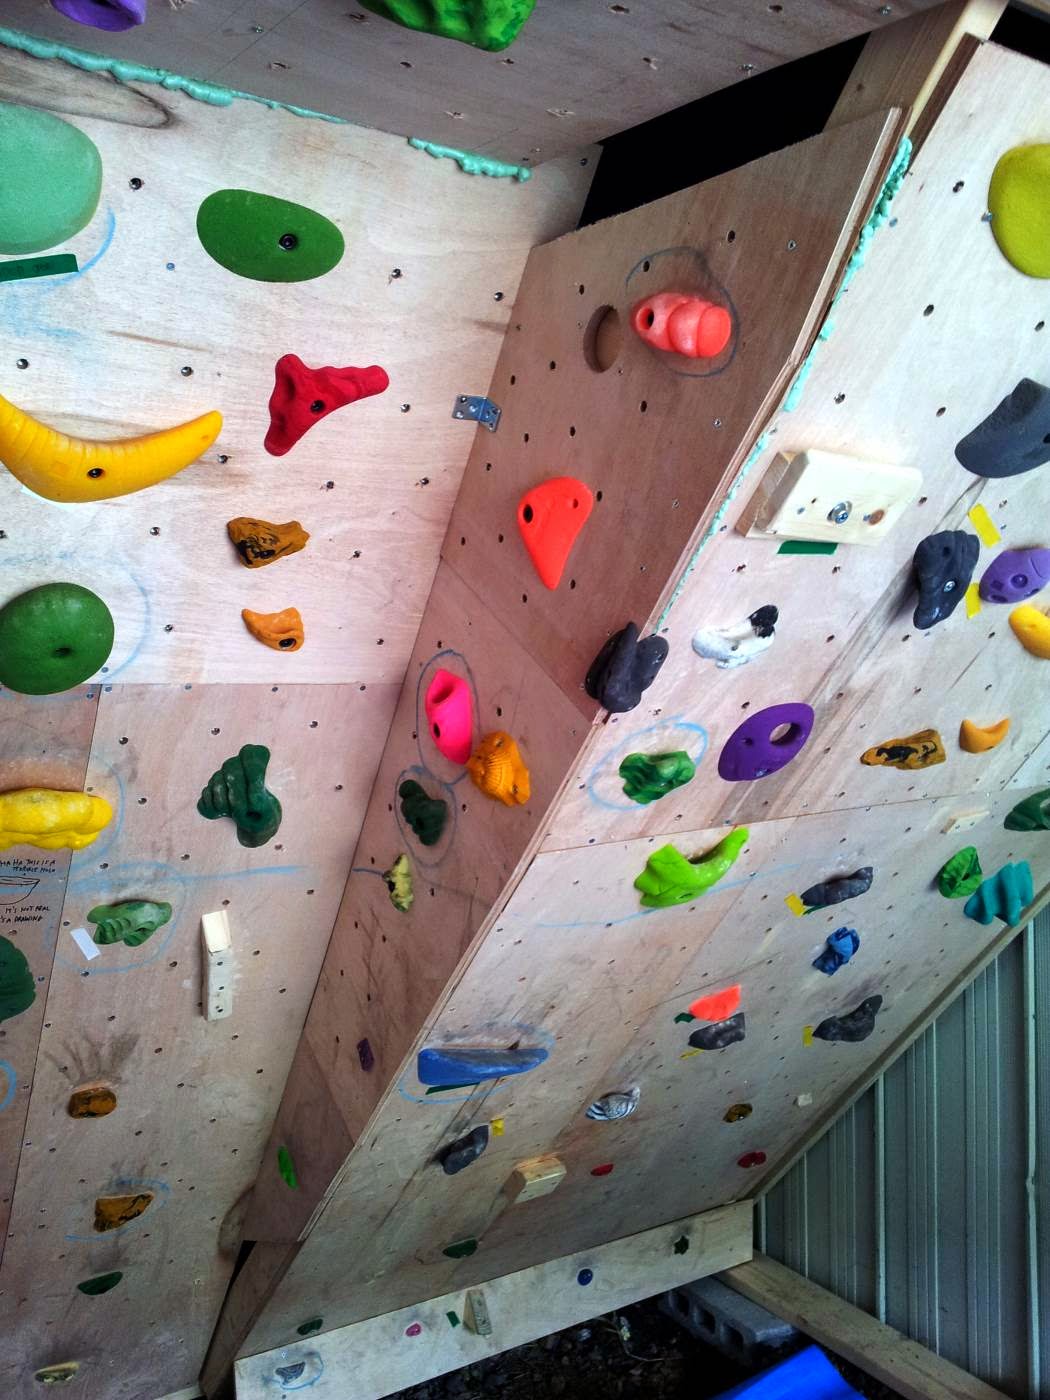  Planning on extending the vertical section a little bit more and adding a slightly overhung finishing section above the main bit. The vertical is too low to really "climb" on, but I can traverse on it, and I'm a lot worse at small holds on less-steep walls than on big overhangs. |
|
|
matt c. wrote:hey stephen. cool design! is that free standing or do you hate it attached to the ceiling or wall?Hey matt, the climbing wall is freestanding, but the hangboard section is attached to the ceiling. |
|
|
Bought a house last fall with an 1820’s barn, so I finally got the chance to fulfill my dream of building a wall. Much more to do, but calling it “finished” for now so I can actually climb on it a bit. I had originally done some designs in SketchUp and while they were great for ideas the actual build process was a lot more free form as making things fit in a 200 year old barn was interesting to say the least, especially as I had never built anything like this before.
Some pictures... 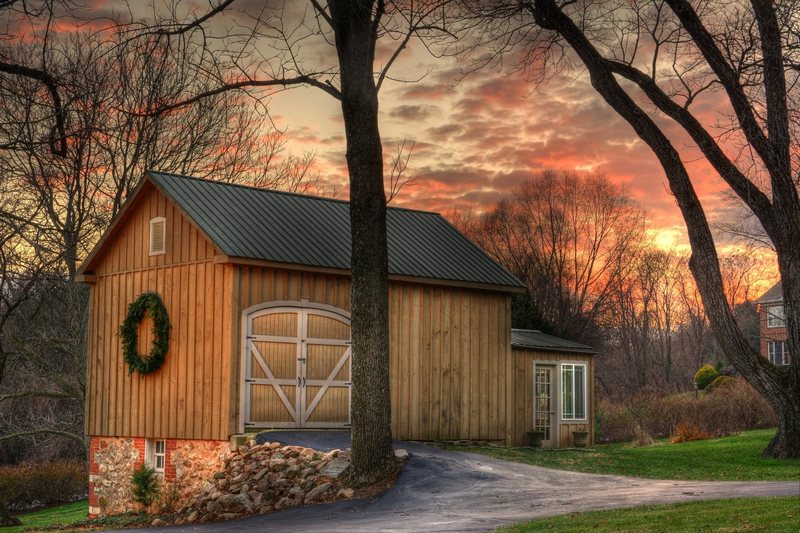   A few terrible cell phone pictures from the build process 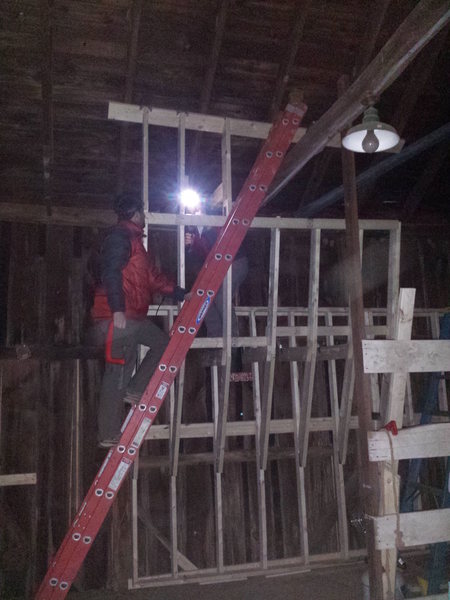    The below picture links to an interactive panoramic image taken about the halfway point.  And finally the wall as it stands today. Here is another panoramic image  Still need to build the training area, finish the top outs and finish the wall surface, but psyched to finally have my own space to climb at the end of the day. Now just need but a ton more holds and get setting! |
|
|
Dominic, that is AMAZING!! lots of variety for some room to grow! So Cool! |
|
|
Thanks! |
|
|
Dominic that thing is no woody! its a full out climbing wall! and it look soo sick! that rafter is screaming out for an overhanging crack to be bolted to it. |
|
|
That's a monster! Looks about the same size as the commercial wall I pay to climb at! |
|
|
I had originally planned to put a big V shaped overhang around that rafter... and of course have a horizontal hand crack too. I think I still may once the psyche to build overcomes the psyche to climb. |
|
|
Dominic Albanese wrote:Are "Climb at your own risk" signs enough? Or do I need to go further and get my insurance involved? That being said. Anyone in northern Baltimore want to come over and set some routes?!My thought is that a climbing wall is no different then having a swingset, trampoline, etc on your yard. While some insurance companies may charge more for those I think that homeowner's insurance is broad enough to cover the wall. Unless you started charging money or if the wall was built unsoundly and it collapsed. A sign may help mitigate risk but if you are truly worried just have ppl fill out a simple waiver form. If built correctly with the right crash pads and setting there should be little to worry about. Awesome wall by the way!!! |
|
|
Awesome barn build-out! The winters make me wish my wall was enclosed but I sure am enjoying being outside during the beautiful summer weather we've been enjoying in the PNW. Might have to come up with a temporary solution during the winter (heavy duty curtain or something to hold the heat in). |
|
|
Just stumbled across this. I've been slowly building a climbing spot in the garage. If I ever finish, I'll post a pic. Thanks to everyone for the ideas, suggestions - as I'm sure you all know, there are some damn impressive walls on here. We'll done! |
|
|
 Wood on wood! Scale was used to test all the weight's...weight. Surprisingly one of them was off by a pound! |
|
|
I decided I needed to build a personal climbing wall so I could make sure I could always get a workout, even when life gets really busy. I'm sure I am not alone here in this. This is what I came up with: |