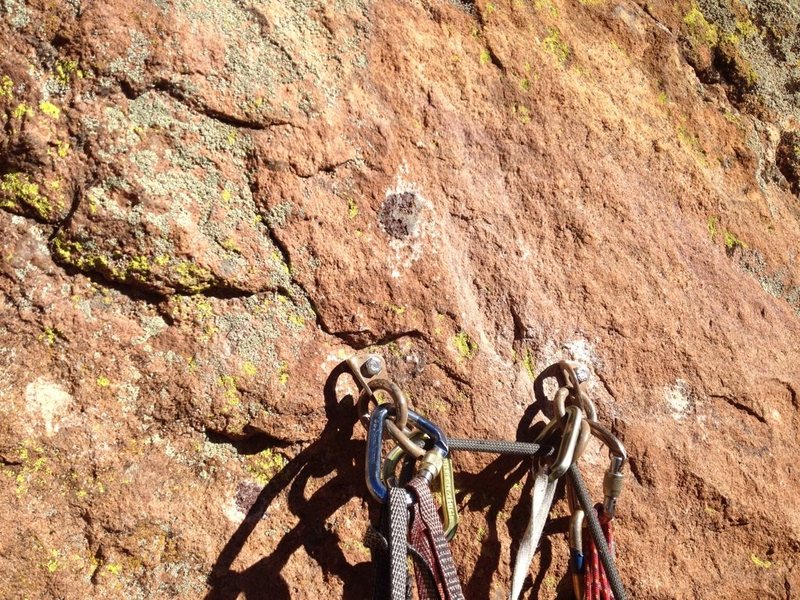
We've still got work to do on this route, but it's better than it was. The crux bolt was a very old ~1.5" x 3/8" wedge with a SMC hanger and a nut that I removed with my fingers. We spun it with the drill to remove it and then installed a 1/2" x 3" SS PowerBolt. The anchor was comprised of three carbon steel 1/2" x 3" Rawls with welded cold-shut hangers. We extracted the one on the right, intending to patch it when we are done since its location isn't ideal. We extracted the center one and installed a 1/2" x 4.5" SS PowerBolt with a double ring hanger. The bolt on the right gave us trouble. We extracted the sleeve with no trouble, but the cone wouldn't budge. The hydraulic extractor would have gotten it out, but we had assumed the cone wouldn't require that much force and hadn't made an attachment for that. We had to leave the anchor in a useful state, so we put in a new hole between the center and right bolt. Installed a 4.5" bolt there with one hitch - the sleeve protrudes 1/16". I neglected to warn Mike that our chip breaker bit is just barely long enough. I'll fix it when I go back by extracting the new bolt and drilling deeper with a shovel-nosed bit, then replacing with a fresh bolt.
The plan is to upgrade all the cold shut hardware to SS bolts and hangers. We'll finish up and patch as the weather permits.
Third time's the charm. Matt and I went back with the right tools. The first three lead bolts have been replaced, the belay bolt on the right was pulled and replaced, the holes are patched, and we replaced the first bolt on P2.
Shot some more video showing the Rawl removal process for a climbing hardware extraction discussion group that Matt started. PM me if you'd like to get involved. youtube.com/watch?v=zzwbN-h…
We use cookies to improve your browsing experience, to show you
personalized content, and for statistical purposes. By continuing
to navigate our website, you accept our use of cookies. Read our
Privacy Policy to learn more.


 Continue with onX Maps
 Continue with Facebook